


Choosing the Right Flooring: A Comprehensive ...
When it comes to home improvement, choosing the right flooring is a crucial decision.

You can have a contractor erect your fence, but if you enjoy DIY, you can erect your own fence by following a few easy steps.
• Tape Measure
• Spirit Level
• Pliers
• 4 x 1.8m Corner posts
• 2 x 1.8m Gate posts
• 10 x 1.8m Stays
• 22 x 1.8m Standards
• 4 x 30m rolls Fence mesh
• 10 x Stay bolts
• 1kg 1.6mm galvanised (tie) wire
• 3.15mm galvanised (straining) wire (360m 1x25kg)
• 4 x 50kg bags Concrete mix
*1.8m used for 1.2m high fence as the holes for the poles must be 600mm deep.
*2.4m used for 1.8m high fence as the holes for the poles must be 600mm deep.
• Once you have all the materials, mark the 4 corner posts in position. (30mx30mx30mx30m)
• Dig the holes for these 4 corner posts - 400mm wide and 600mm deep.
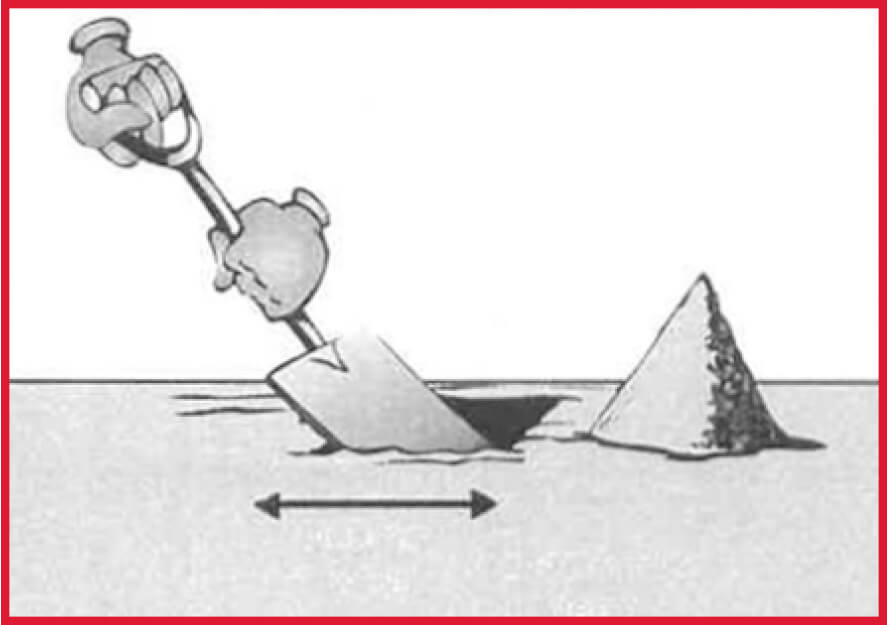
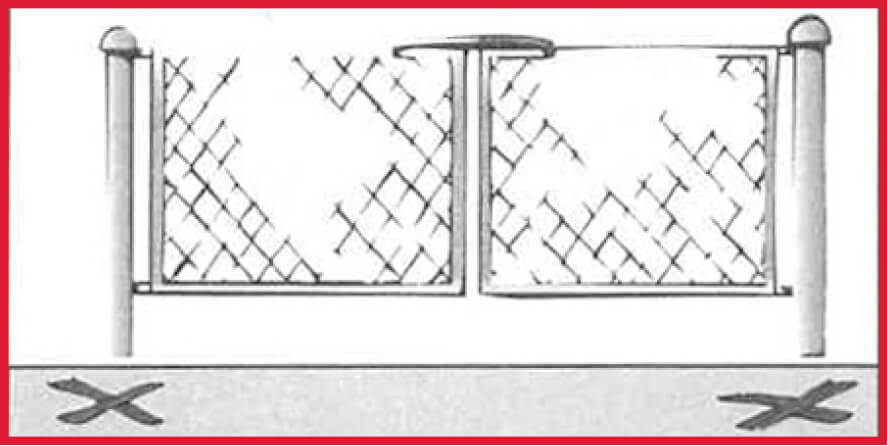
• Attach the gates to the gate posts to get the right spacing for the gate post holes. Now, dig the two gate post holes – 400mm wide and 600mm deep.
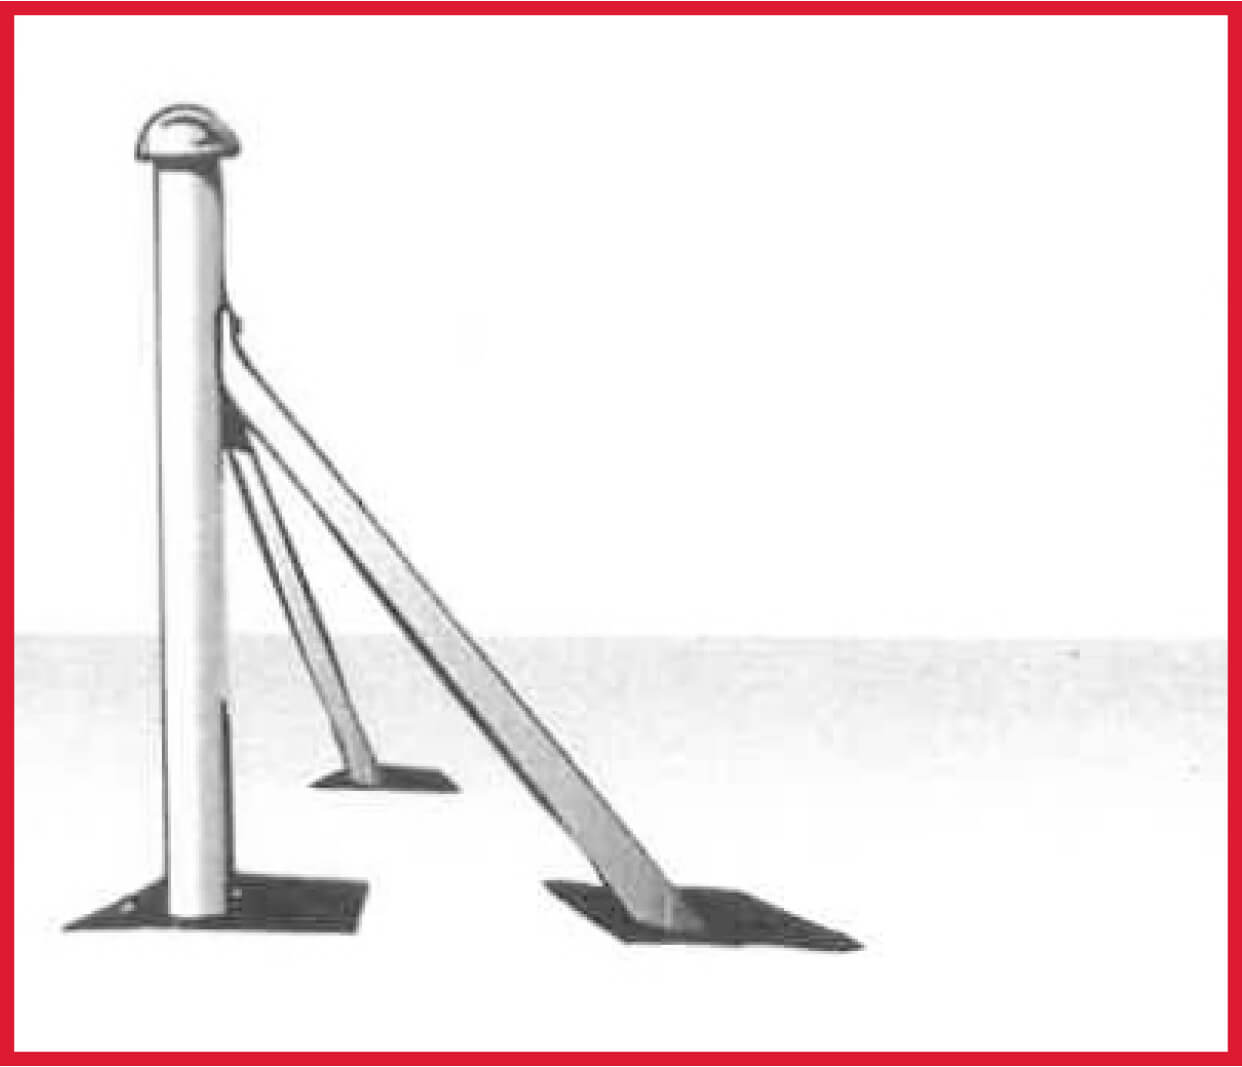
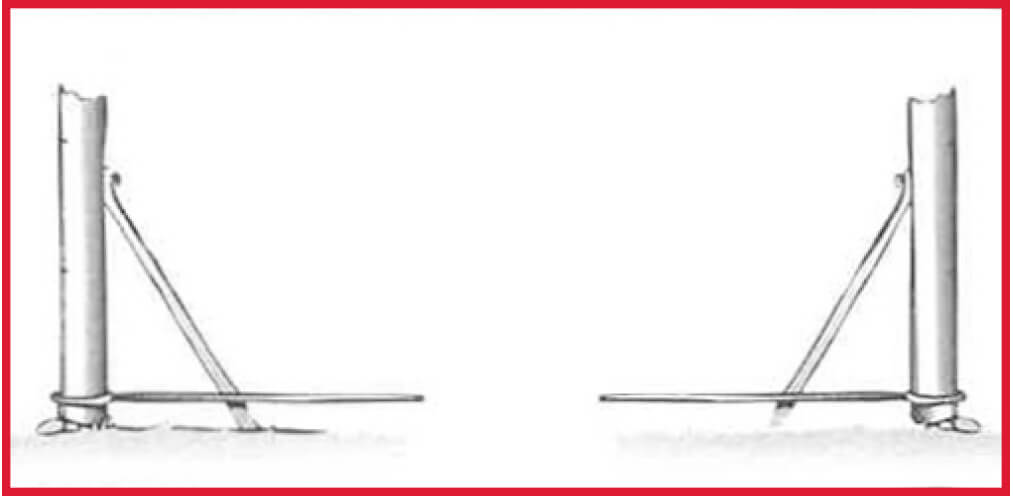
• Next to each post, you need to dig 2 holes for the stays - 400mm wide x 600mm deep. Bolt 2 stays to each post
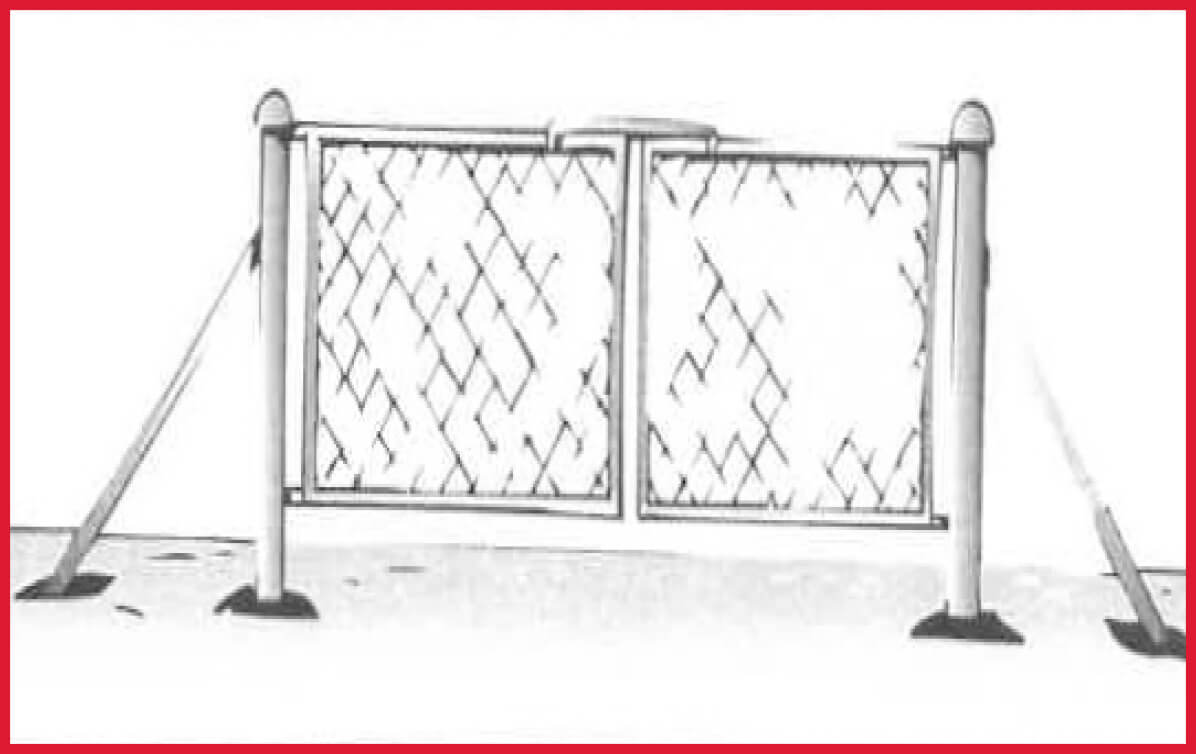
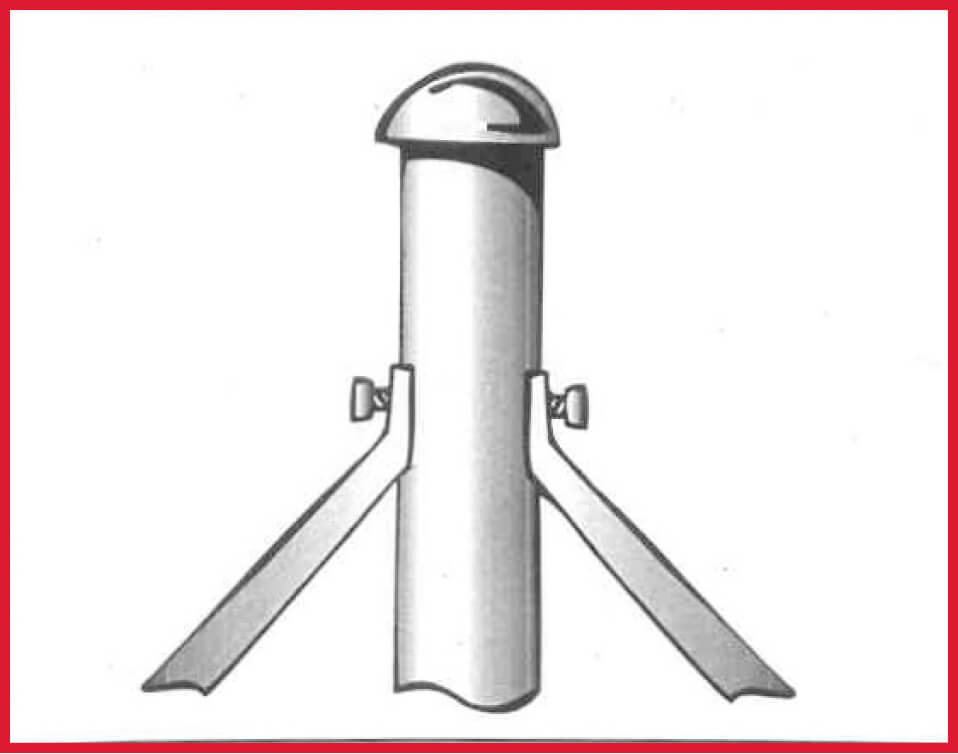
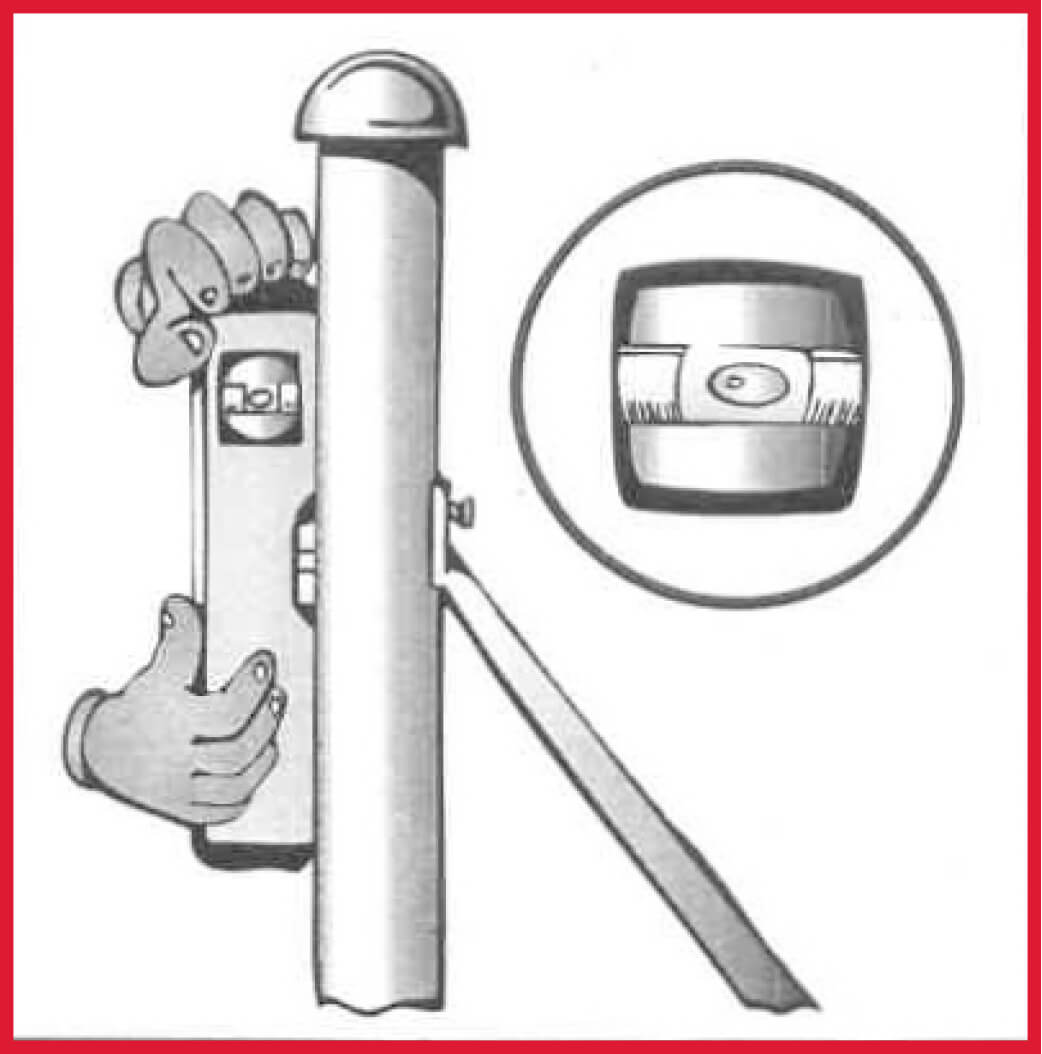
• Plant all these posts - 4 corner posts and 2 gate posts with all the stays into the holes and secure with concrete mix. Make sure they are straight by using a spirit level. Leave to dry for a few days.
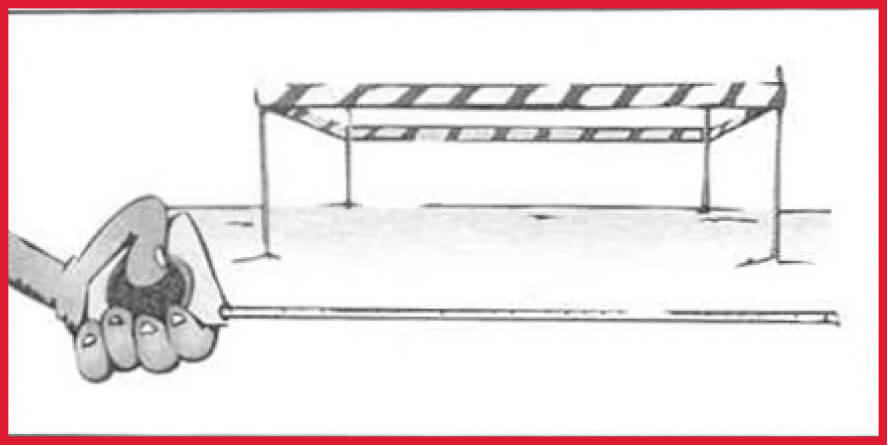
• Mark out the place where the standards will be planted at 4 meter intervals between the posts. Hit these standards into the ground where you have made your markings – 600mm deep.
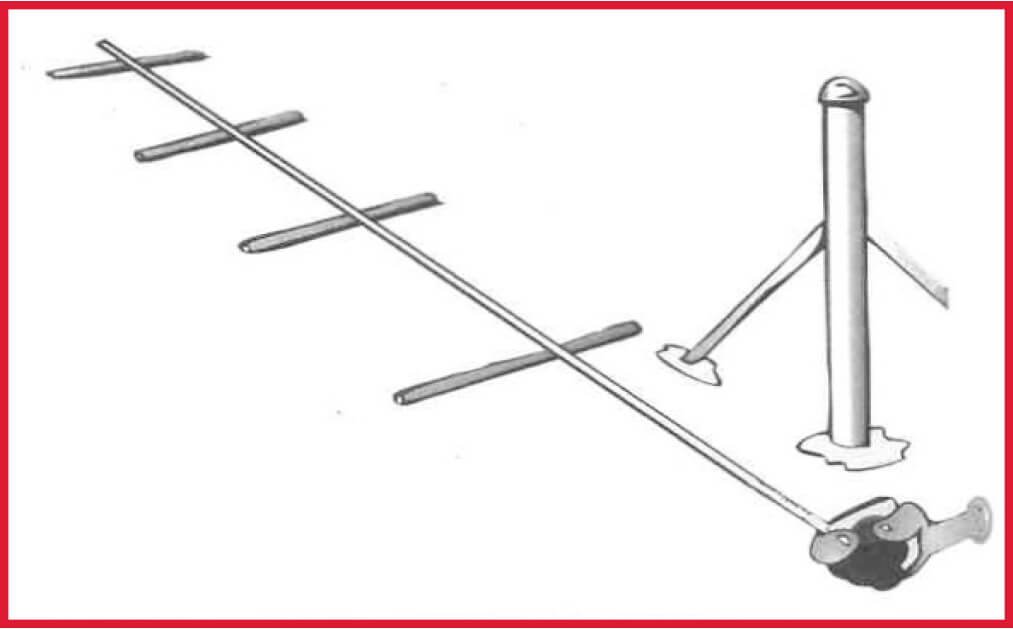
• Mark each standard from the ground at 600mm intervals. This is so you know where to tie the straining wires later.

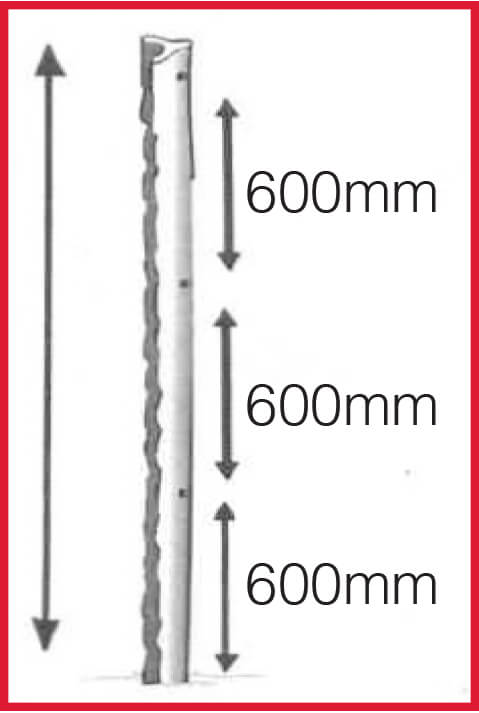
Optimal Option
1.8m showing standard with 4 straining wires, each 600mm apart.

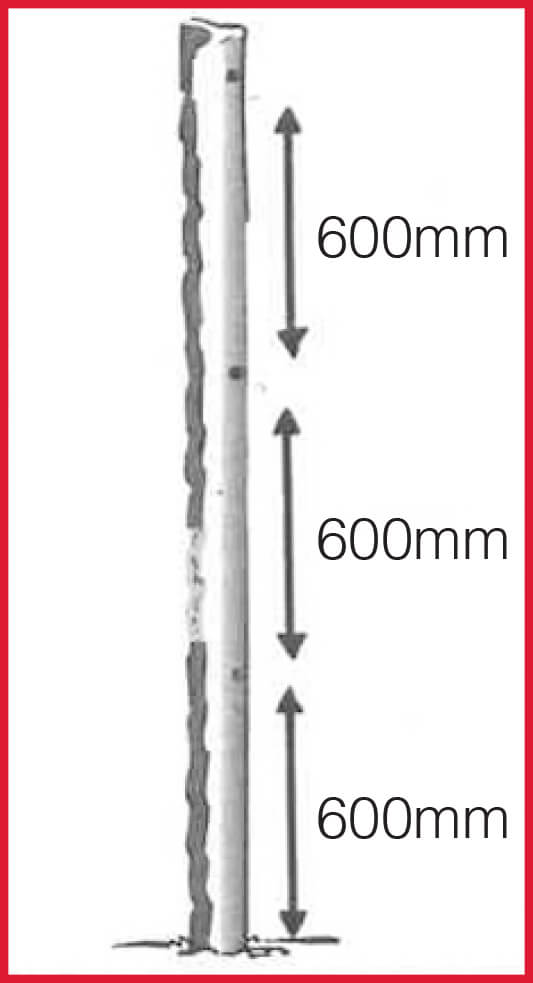
Economical Option 1
1.8m showing standard with 3 straining wires, each 900mm apart.
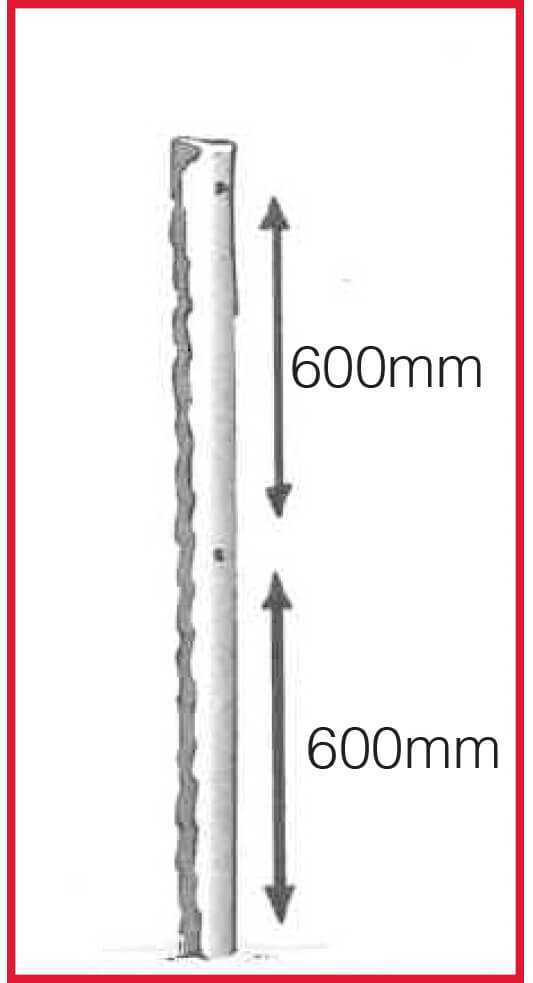
Economical Option 2
1.2m showing standard with 3 straining wires, each 600mm apart.
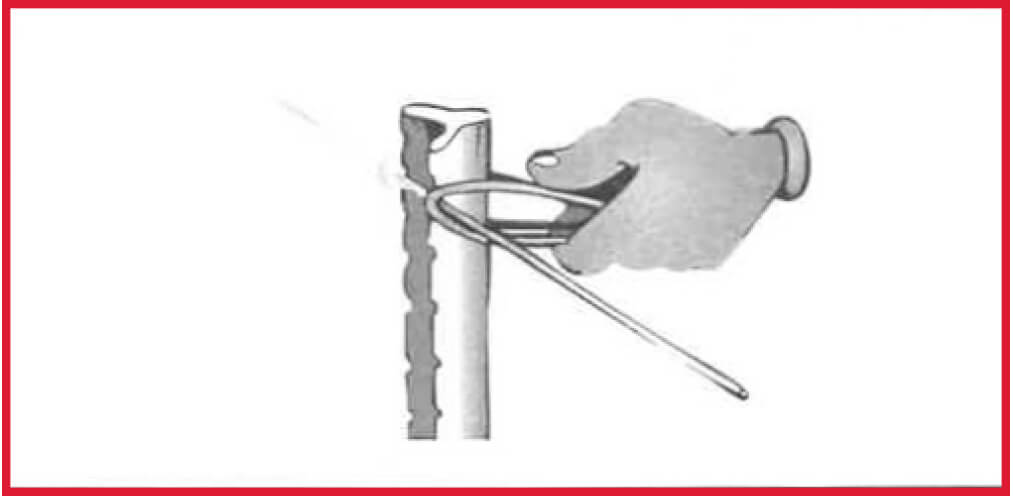
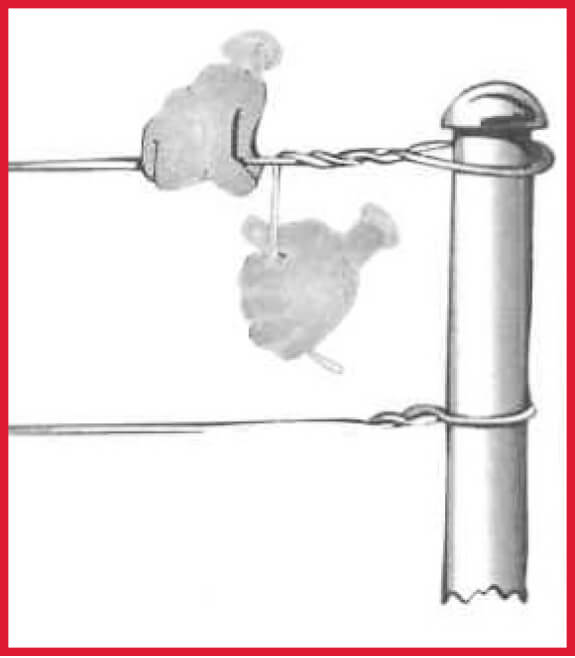
• Starting at the bottom, closest to the ground, tie the galvanised (straining) wire to the first post and pull/strain to the next post as tightly as you can, then tie the other end to this second post.
• Then tie the galvanised (straining) wire to each standard on the marks you have made, using 1.6mm galvanised (tie) wire.
• Once the bottom straining wire is secured, you can install the next one, 600 mm above the first. Repeat until all wires are attached. Do the same to each of the 3 straining wires between all the posts.
• Make sure all these straining wires are pulled as tightly as possible and that the standards are tied as straight as possible in between them.
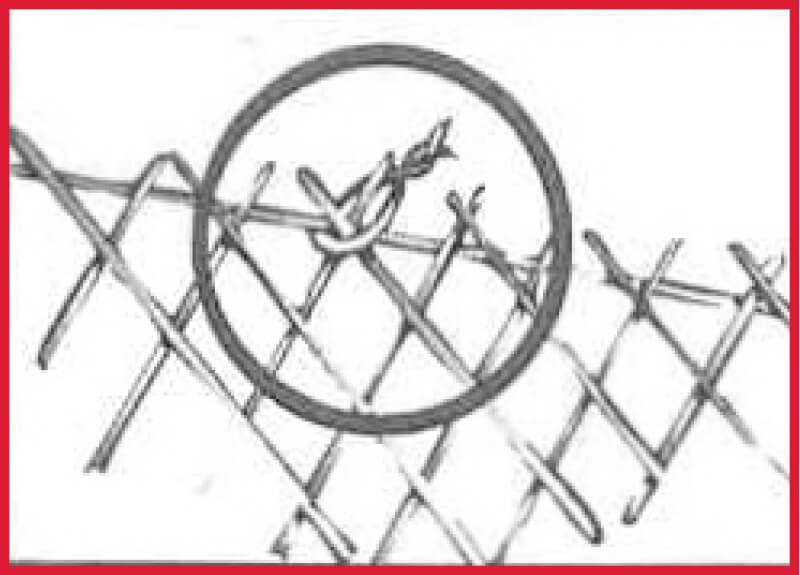
• Tie one end of the mesh to the first post, using the 1.6mm galvanised (tie) wire so you can secure it to the post.
• Then unroll the mesh towards the second pole, keeping it tight all the way along and securing it to the next pole.
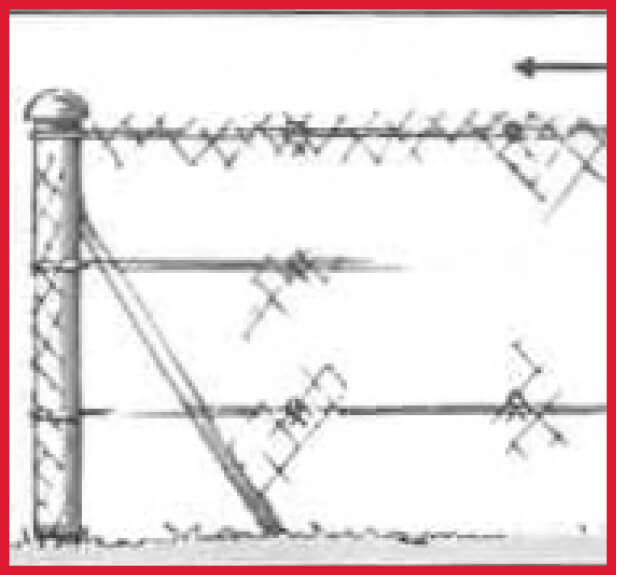
• On each of the cross wires of the straining wire, tie the mesh at 500mm intervals to secure it to the structure.
• Continue to do this all the way around until the entire fence is up and secured.

Gansbaai Build it Plus forms part of the fastest-growing hardware and building materials group in Southern Africa. The Build it name embraces all activity within the hardware and building industry and supplies quality building materials at the best possible prices for large and small-scale building ...
View ProfileXplorio is your local connection allowing you to find anything and everything about a town.
Read MoreWhen it comes to home improvement, choosing the right flooring is a crucial decision.
Revamping your outdoor space has never been more exciting!
Introducing FROGSKIN Roof Paint: The ultimate solution for dirt and water resistance, now available at Build it Plus Gansbaai!
Build it Plus Gansbaai and Hermanus is a well-established and reputable brand that has become a trusted household name in the building supplies and construction materials industry.
Painting the roof of your house is an effective way to improve its appearance and protect it from damage caused by the elements.
Wooden trusses are commonly used in the building industry and are typically made from strong, lightweight woods such as spruce, pine, or fir.


